
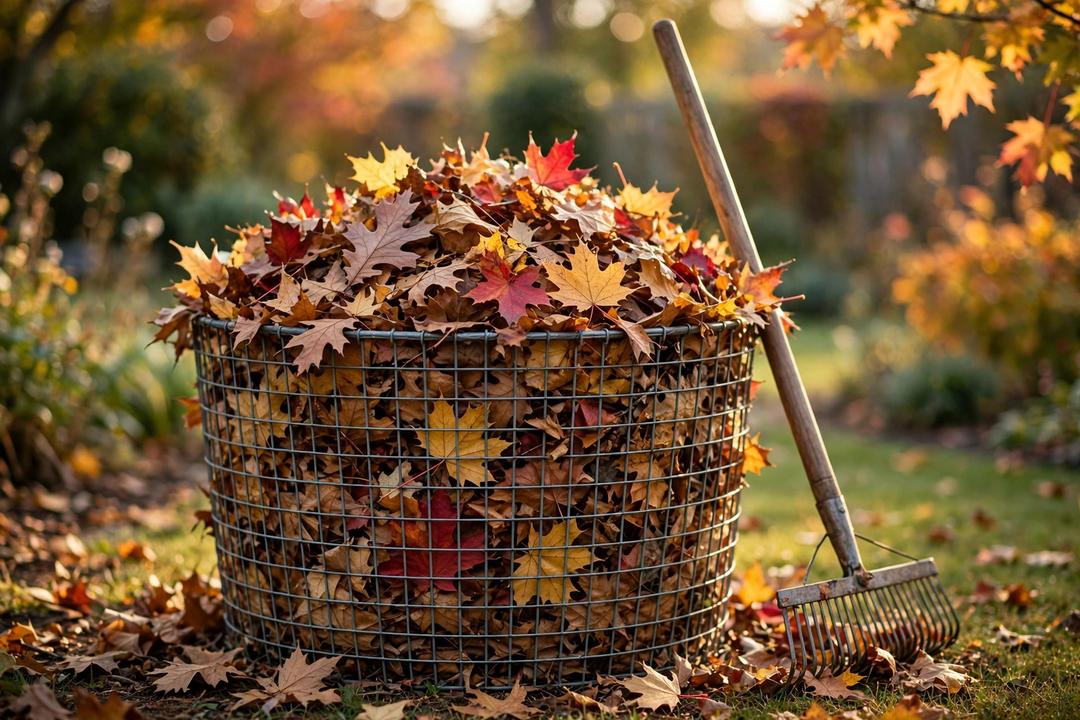
Six months to two years. That is the honest answer, and the spread is the whole story: shredded leaves kept damp can turn into dark, crumbly leaf mold in 6 to 12 months, while whole leaves tossed in a pile and ignored can take up to two years. The UF/IFAS Leon County Extension puts the range at "anywhere from six months to two years to finish, depending on leaf type, moisture, and ambient temperature" — and Penn State Extension agrees: shredding the leaves, turning the pile occasionally, adding water, or covering it with a tarp can speed the process "from years to 6 to 12 months." Start the pile this November and the earliest you will use it is next spring; start it and forget it, and it is ready two falls from now.
Sophie: I raked up six bags of leaves. If I just leave them, is that compost now?
Sprouty: Not compost — better, in one way. Compost is bacteria in a hurry. Leaf mold is fungi taking their time, and the wait is the whole point.
What leaf mold actually is — and what it isn't
Leaf mold is what you get when fallen leaves rot down on their own: a dark brown, crumbly material with a pleasant earthy smell, made of nothing but leaves. Penn State Extension describes it as "essentially decayed leaves" that is "similar to compost" in looks — but the process behind it is completely different, and that difference is why it takes so long.
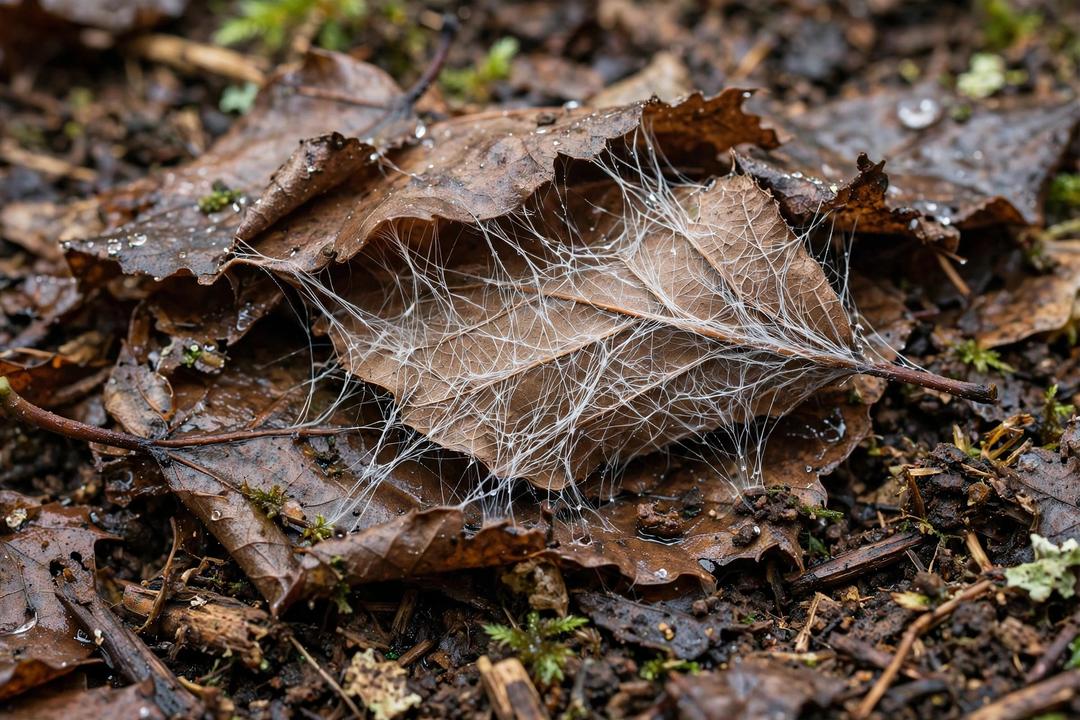
Hot composting is a bacterial process: nitrogen-rich greens plus carbon-rich browns, kept aerobic and warm, broken down by heat-loving bacteria. Leaf mold is a fungal process. Leaves are mostly lignin and cellulose — tough, woody material that bacteria struggle with — so fungi do the work instead, slowly, at ambient temperature, without heat. UC Solano Master Gardeners put it plainly: "Leaf mold depends on fungus rather than bacteria to decompose the leaves. Because leaves consist primarily of lignin and cellulose, it can take a year or more." The UF/IFAS Leon County Extension calls it "a cold process that's less labor-intensive than hot composting but slower" — and because fungi "can do their work without being turned, so the pile doesn't require flipping."
That is also why leaf mold is not a fertilizer. Penn State Extension is blunt about it: leaf mold is "not high in nutrients" — but it is "an excellent soil amendment that improves the structure of the soil, increases soil water retention," and "unlike compost or manure, leaf mold is mostly weed-free." Its gift is structure, not food. It loosens compacted soil, helps sandy soil hold water, and gives roots something to work with. Pair it with compost for nutrients; use leaf mold for the soil itself.
The timeline, honestly
The question behind the question is usually "when can I use it?" — and the answer depends on three things you control, plus one you don't.
| Method | How long | What makes it that fast |
|---|---|---|
| Whole leaves in an open pile, ignored | About 2 years | Nothing — fungi work at their own pace |
| Shredded leaves in a bin, kept moist, turned occasionally | 6 to 12 months | Shredding, moisture, turning, a tarp cover |
| Shredded leaves in punctured bags | Roughly 6 to 12 months | Shredding plus trapped moisture |
| Whole leaves in bags, left alone | Roughly 1 to 2 years | Moisture trapped, but no shredding |
Timing data: UF/IFAS Leon County Extension (six months to two years) and Penn State Extension (years down to 6 to 12 months with shredding, turning, water, and a tarp). The two bag rows are estimates — no cited source gives bag-specific timelines; the pile and bin rows are the sourced ones.
Leaf type matters. All deciduous leaves can be used, but tough, high-lignin leaves take longer — sycamore is the slow one, according to UF/IFAS, which notes sycamore leaves "take longer to decay due to higher levels of lignin." Shredding matters most with the tough ones: cutting them up multiplies the surface area the fungi can attack.
Moisture matters most of all. Fungi slow to a near-standstill when the pile dries out — and in a dry California fall, that is the real bottleneck. Check the pile every few weeks and add water when the top layers feel dry. Winter rain is your ally here: a pile started in November gets the wettest months of the year for free.
Temperature matters least in California. Cold slows fungi, but in most lowland California gardens the pile keeps working through winter, just more slowly in January than in September. Shade helps too: a pile in a shady corner stays damp longer than one baking in the sun.
One more honest note: the payoff is worth the wait. In trials published as Connecticut Agricultural Experiment Station Bulletin 774 (Hill, 1978), a 3-inch layer of leaf mold worked into sandy soil roughly doubled its water-holding capacity. That is the kind of change a bag of fertilizer cannot buy.
Three ways to make it
Every method is the same four steps — collect, shred, wet, wait — in a different container. Pick the one that fits your yard. Two rules apply to all three methods, whatever container you choose.
Shred first. Run a mower with a catcher over the leaves, or use a weed whacker like an immersion blender in a sturdy garbage bin — UF/IFAS recommends both. Shredding is the easiest speedup available: combined with moisture, turning, and a tarp, it can cut the wait from years to 6 to 12 months, per Penn State Extension.
Start with healthy leaves only. The pile never heats up the way hot compost does, so don't count on it to kill weed seeds or pathogens — leave mildewed, rusty, or blighted leaves out of the pile and bag those for the green bin instead. And if you spot white, thread-like hyphae on the undersides of last year's fallen leaves, toss a handful into the new pile: UF/IFAS notes those leaves "will inoculate it with fungi."
1. The wire bin (best if you have space)
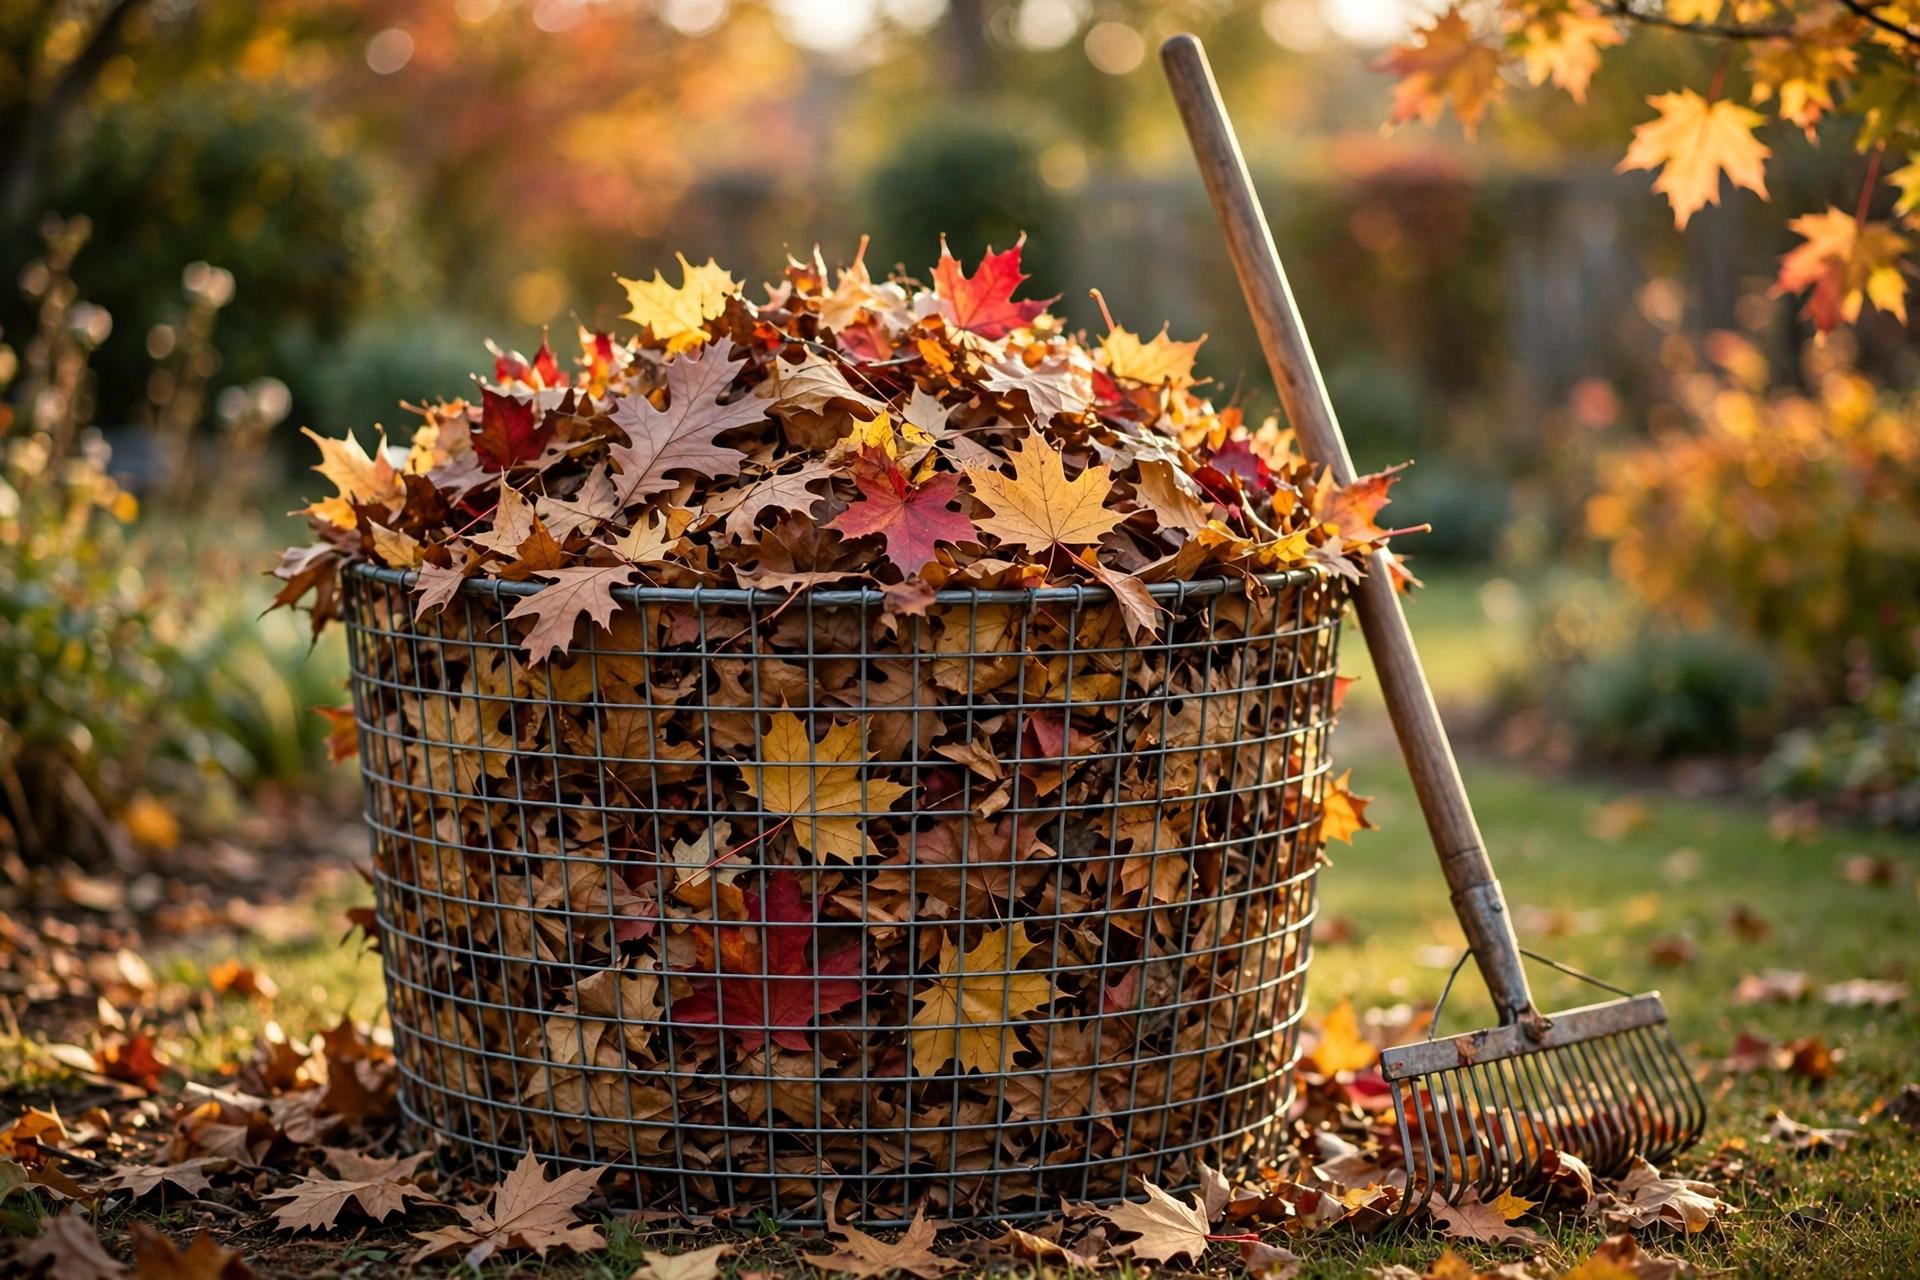
Form a corral from wire mesh, chicken wire, or untreated wood pallets, in a shady corner of the yard. Penn State Extension recommends a bin "3 to 6 feet in diameter and at least 3 feet in height" — the pile needs that bulk to hold moisture and stay active. UF/IFAS gives the same minimum: "at least three feet wide and three feet tall." Rake the leaves in, pack them down, water thoroughly, and walk away — turning the pile occasionally and covering it with a tarp will get you to the faster end of the range. UC Master Gardeners of Central Sierra give the same advice in their fall checklist: if fallen leaves are raked up, "pile them up in a remote part of the yard and let them rot into leaf mold."
2. The bag method (best if you have no space)
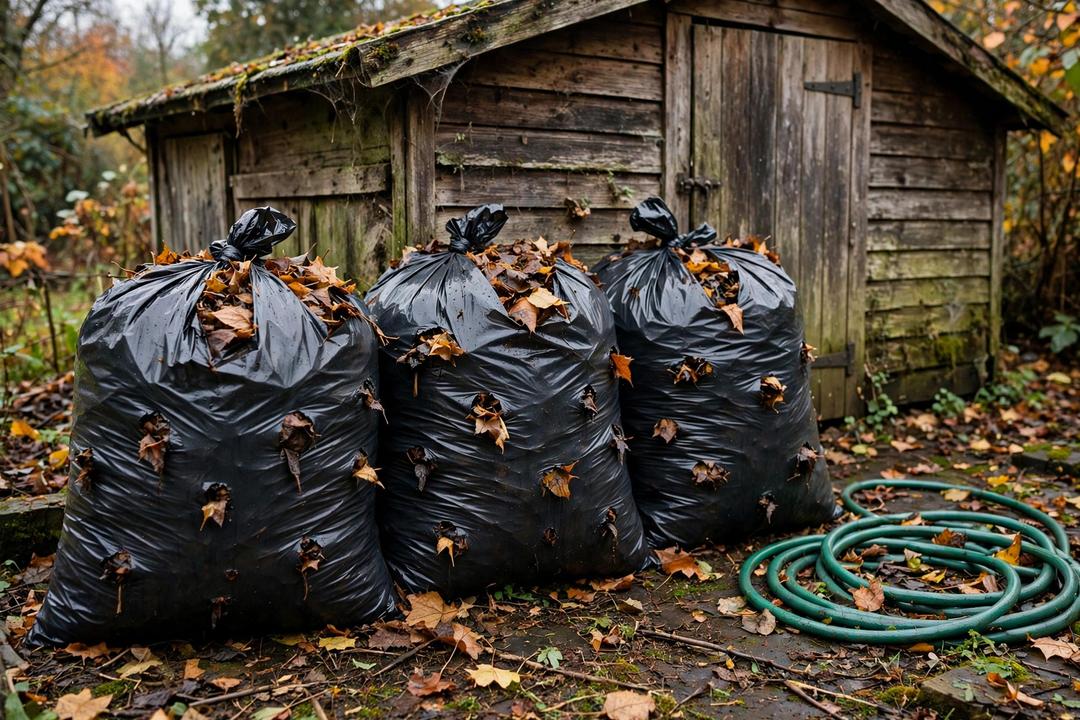
No yard for a bin? Use heavy-duty black plastic bags. UC Solano Master Gardeners describe the method they use themselves: "I shred mine with my leaf vacuum, pack into plastic bag, add a little water, and poke some holes in the bag." UF/IFAS adds the details: pound the bags to break up the leaves, add water, tie the bags, and "poke holes in the sides and bottom with a pitchfork." Tuck the bags behind the shed and check them every few months — roll or shake them to aerate, and add water if they dry out. Penn State's version: fill the bag or an old trash can with leaves, moisten them, "close it up loosely (allow some airflow), and let it sit."
3. The simple pile (best if you have patience and a far corner)
Just pile the leaves in an out-of-the-way corner and leave them. This is the slowest method — whole, unshredded leaves in an open pile take the full two years — but it is also the easiest, and Penn State Extension notes "it will happen eventually, even if you do nothing." If you have more leaves than your bin holds, stockpile the extras in a separate pile and transfer some into your compost bin through spring and summer as you need browns.
How to tell it's ready — and how to use it
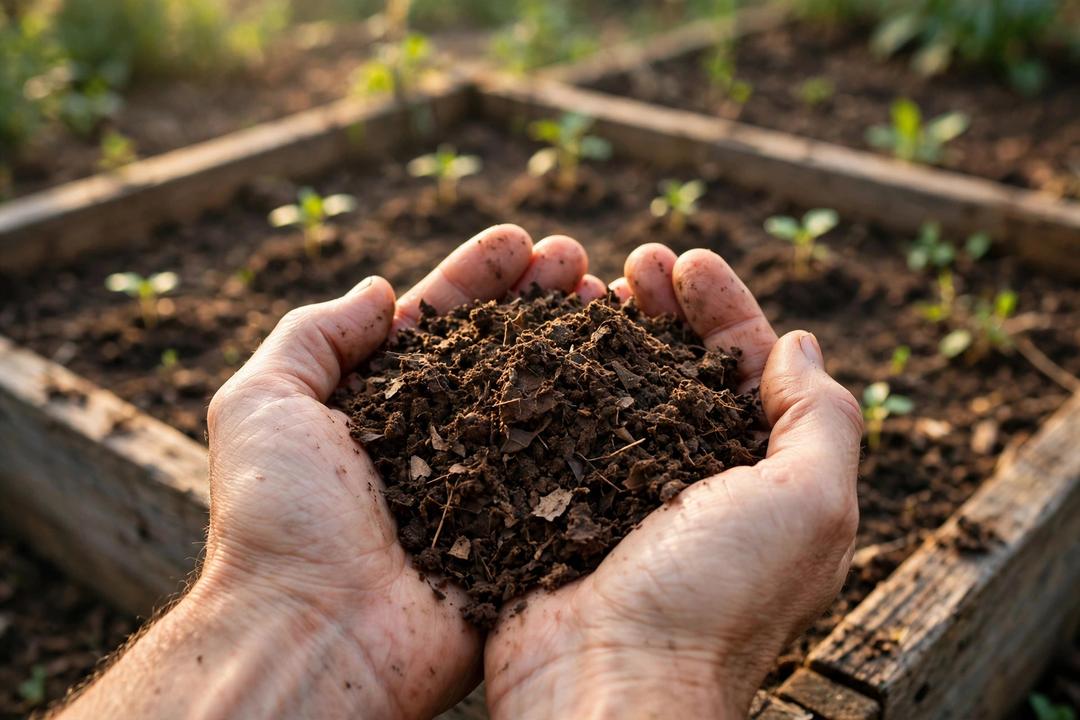
Leaf mold is ready when it "looks like compost — dark and crumbly, with no large clumps of leaves," according to UF/IFAS. It should have a pleasant earthy smell, as Penn State Extension describes it. If you can still recognize individual leaves, it needs more time — give it another few months and check again.
Dig from the bottom or center of the pile, where decomposition is most advanced, and use it three ways:
- As a soil amendment. Incorporate it into the top 4 to 8 inches of soil, taking care not to disturb plant roots, per UF/IFAS. This is its best use: it improves soil structure and drainage while increasing the soil's ability to retain moisture, according to UC Solano.
- As a mulch. Spread on top of the soil, it protects the surface against erosion and runoff, shields against extreme temperature swings, and increases enzymatic and microbial activity, per UC Solano. Partially decomposed leaf mold makes a fine thick mulch; fully finished mold goes into the soil.
- In containers. Mixed with soil and perlite — or even with perlite alone — leaf mold "can make a great container mix," according to UC Solano. Its water-holding ability is especially valuable in pots, which dry out fast.
Mistakes that stall the pile
- Letting it dry out. The number-one stall. Fungi need steady moisture; a bone-dry pile is a paused pile. Check every few weeks in a dry fall and water it like a wrung-out sponge — damp, not soaked.
- Treating it like hot compost. Don't add kitchen scraps or grass clippings expecting it to heat up, and don't turn it weekly — the fungi work undisturbed. Turning occasionally speeds things a little, per Penn State, but the pile does not need it.
- Using diseased leaves. The pile never heats up the way hot compost does, so don't count on it to kill weed seeds or pathogens. Start clean.
- Expecting fertilizer. Leaf mold feeds the soil, not the plant. If your tomatoes need nitrogen, that still comes from compost or fertilizer — leaf mold is the structure those nutrients sit in.
- Quitting at month eight. A pile of whole oak leaves at eight months still looks like leaves. That is normal, not failure. Shred next year's batch and the wait shrinks by a year.
The real trick is starting now. The leaves are falling this week, the winter rain is coming, and a pile started in November is already working while you do nothing at all. Next spring you'll have the beginnings of it; a year or so after that, you'll have a bin of finished leaf mold you made for free. If you haven't decided what to do with this year's leaves yet, our guide to what to do with fallen leaves in California lays out the other options — leaf mold is the one that pays you back twice.
Quick answers
How long does it take to make leaf mold?
Six months to two years. Shredded leaves kept moist finish in 6 to 12 months; whole leaves in an untouched pile take up to two years. Leaf type, moisture, and temperature set the pace, per UF/IFAS Leon County Extension.
Is leaf mold the same as compost?
No. Compost is hot, bacterial, and made from mixed greens and browns in weeks to months. Leaf mold is cold, fungal, made from leaves alone, and takes 6 to 24 months. It looks like compost when finished but contains few nutrients — it's a soil conditioner, not a fertilizer.
Do I need to turn a leaf mold pile?
No. Fungi do the work without turning, and Penn State Extension notes the pile "will happen eventually, even if you do nothing." Turning occasionally and covering with a tarp speeds things up, but it is optional.
Can I make leaf mold in bags?
Yes — it's the best method for small yards. Fill heavy-duty black bags with shredded, damp leaves, poke holes in the sides and bottom for air, tie them off, and tuck them behind the shed. Check moisture every few months and roll the bags to aerate.
Which leaves are best for leaf mold?
All deciduous leaves work. Tough, high-lignin leaves like sycamore take longest — UF/IFAS notes sycamore leaves "take longer to decay due to higher levels of lignin" — so shredding matters most with the tough ones. Use healthy leaves only — the pile never heats up the way hot compost does, so don't count on it to kill weed seeds or pathogens.
Can I use leaf mold in pots?
Yes. Blend it with soil and perlite — UC Solano Master Gardeners say the mix makes a great container mix. Its water-holding ability is especially useful in pots that dry out fast.