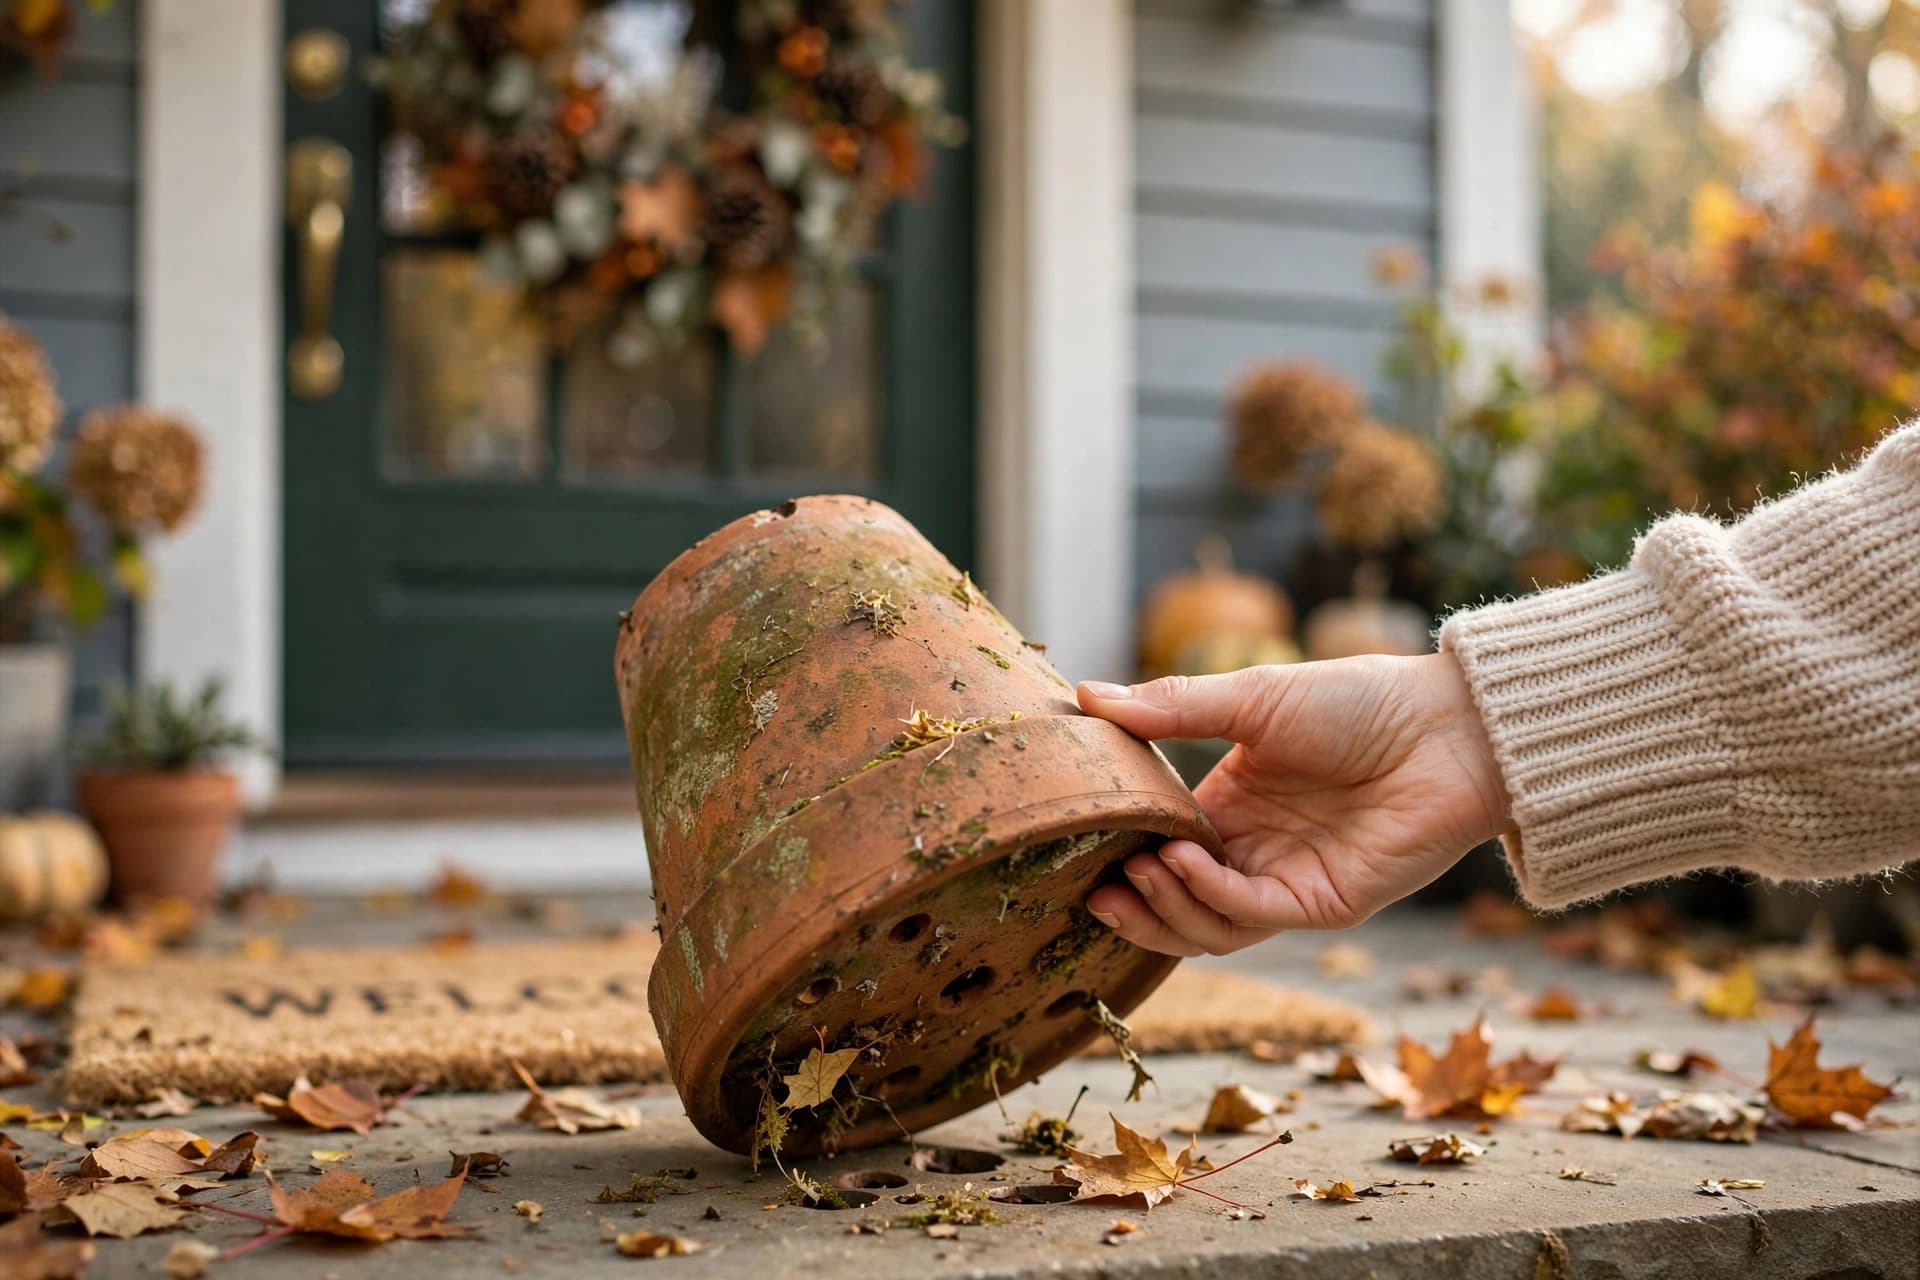

Flip every potted patio plant upside down before it crosses your threshold: the drainage holes and bottom rim are the primary shelter where outdoor pests overwinter before riding indoors on fall-bound houseplants (overwintering pest sheltering behavior). Pests like spider mites, scale, and mealybugs do not simply sit in plain sight on upper leaves—they tuck into dark, damp crevices beneath the root ball, where indoor central heating and the complete lack of beneficial garden predators trigger an explosive secondary outbreak (indoor pest population dynamics). Inspecting the bottom of the container takes sixty seconds, and skipping it is the single most common reason an entire indoor collection ends up infested by Thanksgiving.
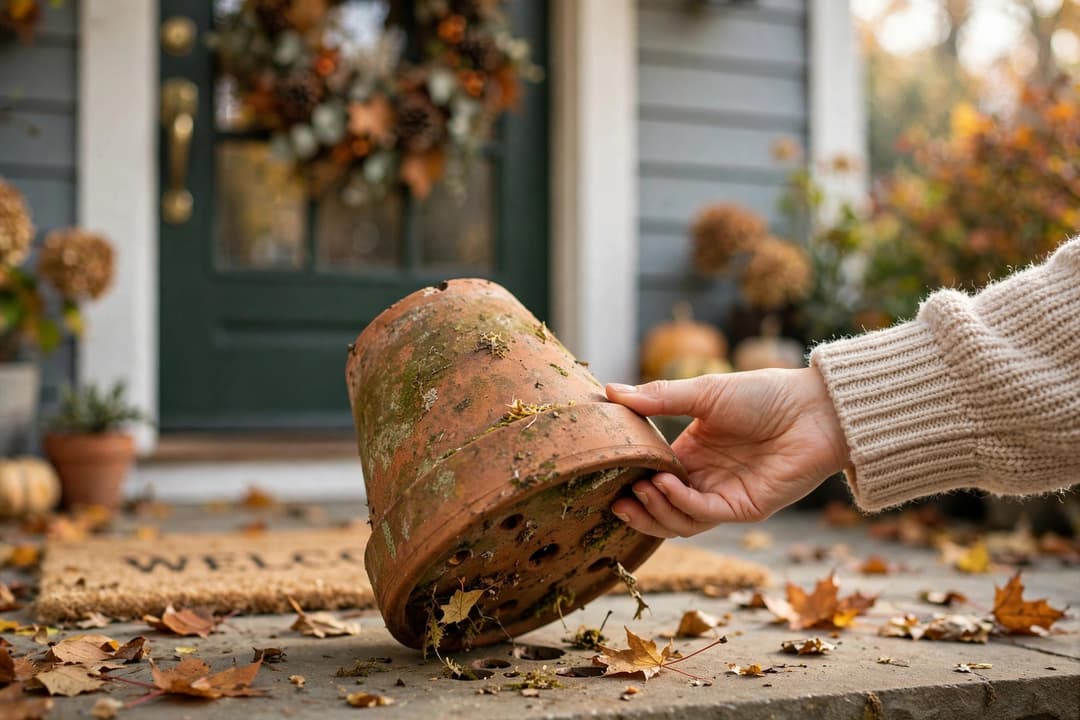
Sophie flips the pot at the front door. Sprouty finds what was hiding in the drainage holes.
The suspects hiding in your pots
As evening temperatures plunge across regions like California's Sacramento Valley each October, patio container plants become primary refuges for garden insects seeking frost-free shelter. Once brought indoors, warmth accelerates their breeding cycles while dry furnace air suppresses fungal pathogens that normally keep them in check (greenhouse pest biology). Here is exactly where each pest conceals itself:
-
Two-spotted spider mites (Tetranychus urticae):
Drainage holes: Overwintering females turn an amber-orange or brick-red hue and spin dense, micro-fine webbing across the bottom hole lip and underside crevices.
Leaf undersides: Pale yellow or silvery stippling speckles the leaves, with active microscopic crawlers clustered tight against major veins.
Stem joints & soil surface: Tight canopy webbing stretches across petiole junctions; during heavy colonization, mites aggregate on dry debris around the container rim.
-
Mealybugs (Family Pseudococcidae):
Drainage holes: Cottony, wax-covered white egg sacs and sluggish nymphs cluster directly on root tips pushing through bottom slots and along rough inner terracotta walls.
Stem joints: Soft white fluff wedges firmly into branch forks, leaf axils, and beneath stipules where water runoff cannot dislodge them.
Leaf undersides & soil surface: Oval, segmented adults gather along midribs; root mealybugs leave telltale chalky white powder throughout the root ball and drainage saucer.
-
Scale insects (Superfamily Coccoidea):
Drainage holes: Hardened, brown or gray waxy discs anchor flatly to the outer bottom rim and drainage hole perimeter.
Stem joints & woody stems: Immobile, raised bumps encrust nodes and green petioles, frequently mistaken by growers for natural corking or plant bark.
Leaf undersides & soil surface: Flattened crawlers and mature scales suck sap along underside veins, depositing sticky, shiny honeydew that glazes lower leaves and the compost line.
-
Aphids (Superfamily Aphidoidea):
Drainage holes: Small clusters of soft-bodied nymphs seek cool moisture around drainage openings and damp container feet.
Leaf undersides: Dense colonies of green, black, or peach pear-shaped insects crowd the tender new underside growth.
Stem joints & soil surface: Massive gatherings choke fresh shoots and node intersections, shedding papery white molted skins that coat the topsoil like dandruff.
-
Fungus gnats (Family Sciaridae):
Drainage holes: Constant moisture around bottom openings attracts egg-laying adults; translucent, black-headed larvae wriggle through decaying root material at the base.
Soil surface: Weak, erratic black adults scurry across the damp top inch of potting medium when disturbed, while larvae feed on organic compost and delicate root hairs.
Stem joints & leaf undersides: Adults rest quietly on shaded lower petioles and underside foliage throughout the day.
The 60-second pot-flip inspection
Do not carry a plant past the patio door until you run this fast five-step inspection on the front doorstep:
-
1. Ground the container at the threshold:
Place your potted plant on the doorstep or porch table before walking inside. Never bring the pot into your entryway rug or kitchen island to inspect it; hitchhiking insects can drop into indoor carpets instantly.
-
2. Perform the pot flip:
Place one splayed hand firmly over the surface of the potting medium, straddling the main stem between your fingers. Gently tilt the pot sideways and invert it. Shine a bright phone flashlight into every drainage hole, along the rim recessed channel, and around the saucer contact ring. Look for silky webs, cottony white fuzz, and clustered brown scales.
-
3. Check the leaf undersides:
Turn over five random leaves across the bottom, middle, and top canopy. Inspect the vein junctions with your light. Wipe your thumb along the underside of a suspicious leaf—if it comes away with a reddish or dusty smear, spider mites are present.
-
4. Probe the stem joints and nodes:
Examine where each leaf stem joins the main branch. These tight forks are the primary hideout for juvenile mealybugs escaping garden wind and rain.
-
5. Clear the soil crown:
Brush away fallen dry leaves, spent blooms, and surface debris from the top layer of soil. Tap the container sides sharply to see if adult fungus gnats flutter upward from the root crown.
What NOT to do
Avoid these four common autumn transition mistakes that compromise plant health or spread infestations:
-
Do NOT hose-and-hope without inspecting:
Blasting a plant with garden hose pressure knocks off visible aphids, but it drives mealybugs and mites deeper into the drainage openings. Excess water saturation right before bringing the plant indoors also creates stagnant, soggy root zones that invite root rot.
-
Do NOT skip the two-week isolation period:
Even if a plant passes visual inspection, microscopic pest eggs often hatch seven to fourteen days later once indoor heating warms the soil (pest incubation timelines). Keep transitioned plants physically segregated in a dedicated bright room away from your established houseplant collection for at least fourteen days.
-
Do NOT quarantine the plant in a warm, dark garage:
Garages with ambient warmth but minimal daylight exhaust a plant's carbohydrate reserves. Low light severely weakens natural defense compounds, allowing a small pest population to overwhelm the stressed foliage without competition.
-
Do NOT panic-repot or soil-drench on suspicion:
Stripping all soil from the roots or drenching them with harsh concentrated home chemicals shocks an outdoor plant that is already adjusting to dramatically lower indoor light levels. Target confirmed pests deliberately with insecticidal soap or horticultural oil rather than destroying root hairs preemptively.
Sophie: "Before this plant comes inside, flip the pot."
Sprouty: "Pests hide in the drainage holes."
Sophie: "One missed pot infests them all."
Quick answers
How long should I isolate a plant that came indoors?
Isolate newly transitioned patio plants for fourteen full days. This isolation window allows sufficient time for concealed insect eggs and microscopic pupae in the soil or drainage holes to hatch, giving you time to spot and treat them before they migrate to adjacent foliage.
Can one pot really infest the whole house?
Yes. Pests like two-spotted spider mites and fungus gnats disperse readily via indoor air drafts from heating vents or by crawling between closely arranged pots. Without beneficial outdoor predators like lacewings or lady beetles to keep numbers balanced, a single untreated pot can cross-contaminate every indoor plant on the same floor within three to four weeks.
What if I already see webbing on the foliage?
Do not bring the pot inside. Keep it outdoors on a sheltered porch, thoroughly wipe down the foliage and stems with a damp cloth, and apply a targeted insecticidal soap or horticultural oil spray (foliar pest management), ensuring thorough coverage of the leaf undersides and bottom pot rim. Repeat every five days for two weeks until all life stages are eliminated.
Should I treat the soil with neem before bringing it in?
Avoid pouring raw neem oil drenches into container soil. Pure oil can coat tender root structures and suffocate delicate feeder roots in low-light indoor environments. Use targeted biological controls like beneficial nematodes or dilute Bacillus thuringiensis israelensis (Bti) drenching specifically for fungus gnat larvae, reserving foliar sprays for above-ground pests.
When you help friends move container plants indoors ahead of the first cold snap this week, ask them if they have ever looked under the base of their pots—most gardeners check the flowers and never realize the real invasion rides through the drainage holes. If you notice signs of stubborn feeding damage during transition, learn how to break the persistent thrips lifecycle, or explore why outdoor plants shed foliage after moving indoors to keep your indoor jungle thriving all winter long.